Terra Sigillata: an italian word literally translated as "Earth Seal"
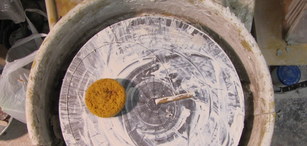
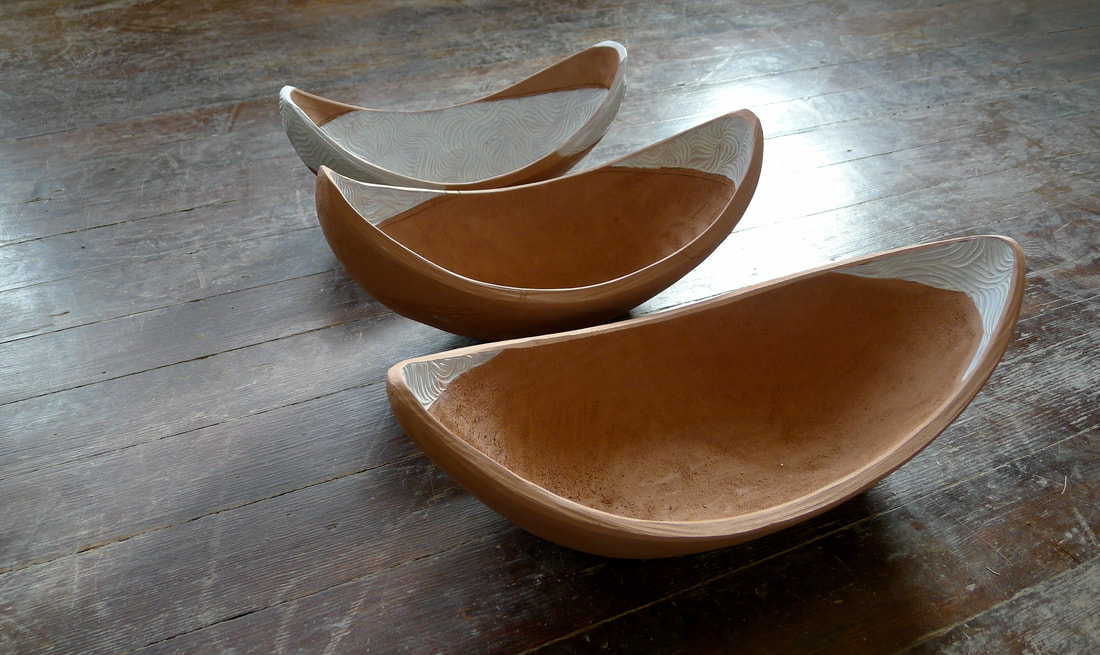
Terra Sigillata is a fine particle liquid clay that is applied to the surface of pottery before wares are fired. This fine coating is then burnished to bring out the materials natural shine. When fired to a low temperature (apx. 1945ºF) the material will keep its natural shine, however, when fired above this temperature the sigillata has a tendency to lose some of its shine and will become slightly transparent to reveal the underlying clay. It's truly a fascinating material that is beautiful to work with and historically intriguing.
To make: (I use Liz Summerfield's recipe)
3,000g Warm Water
1,500g XX Sagger Ball Clay
25g Sodium Silicate
In a large clear jar mix the sodium silicate with warm water. Slowly add clay. Mix throughly with an immersion blender for apx. 5 mins. Cover and let settle for 1-2 days until 3 layers form (top layer should be thin and watery, middle layer is the terra sig, and the bottom layer is a thick goop). Siphon off the top layer of water with a turkey baster. Then gather the middle layer into an separate container stopping about 1/2" from the thicker bottom layer (you don't want to contaminate your batch with the larger particles found on the bottom). Finito!
To Use: Apply at "leather hard" or "bone dry." Sig works best when applied in several (2-3) thin coats. The thinner the coat the more likely your clay will show through, however, if it is applied too thick the sig may flake off.
Variations: Different clays will yield different colored sigs. You can experiment with making sig from any fine particle clay. You can also add Mason Stains to the base to give you a wide range of color possibilities. The stains may alter the sheen and the way the sig feels when applied so make sure to test! Experiment with adding 1tsp. to 1/2c of sig base and increase the amount of stain to create more vibrant colors.
Helpful links:
Vince Pitelka's Article on Terra Sig
Works in Progress
Almost all of the fun in making pots is in the process not necessarily the end result. Don't get me wrong, there are few things better in this world than opening up a kiln to find your work magically transformed, but thats it, thats the end. I'm most interested in clay while it is still soft, malleable, and full of possibility. There is something so satisfying about taking a raw material and turning it into something useful.
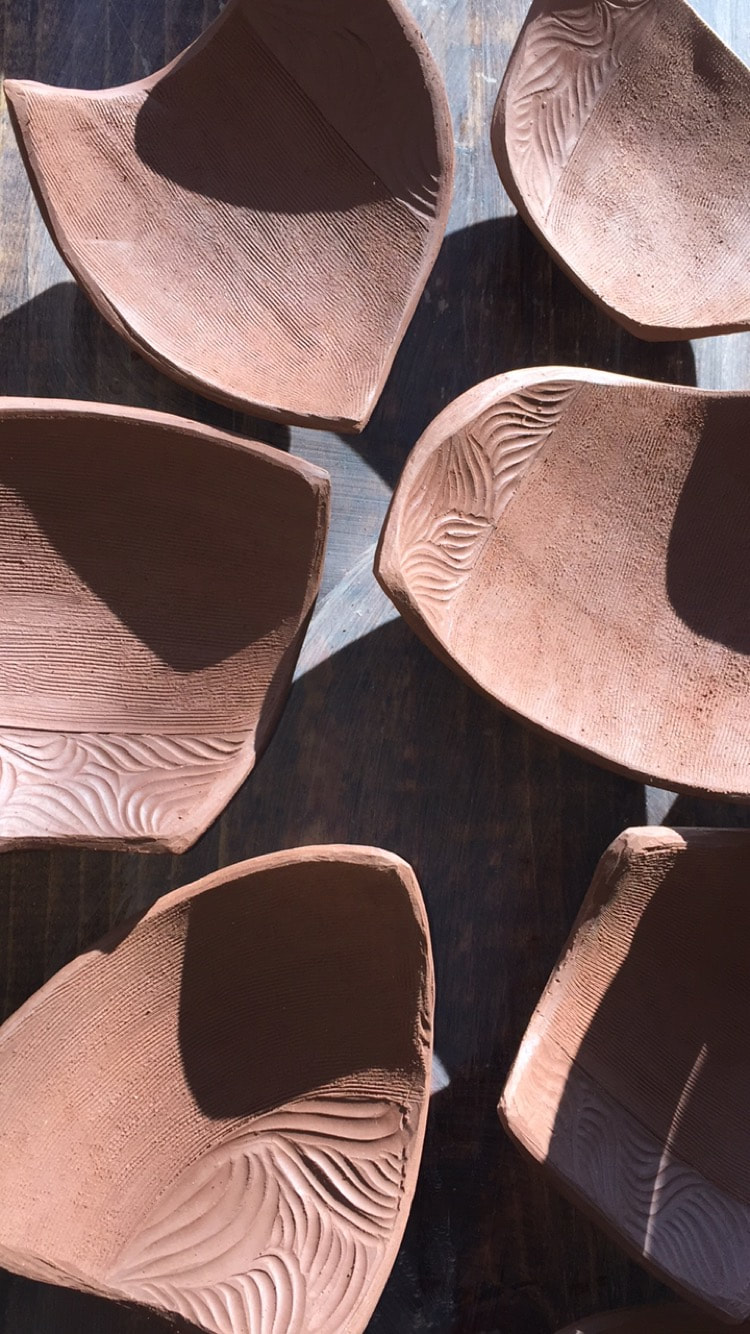
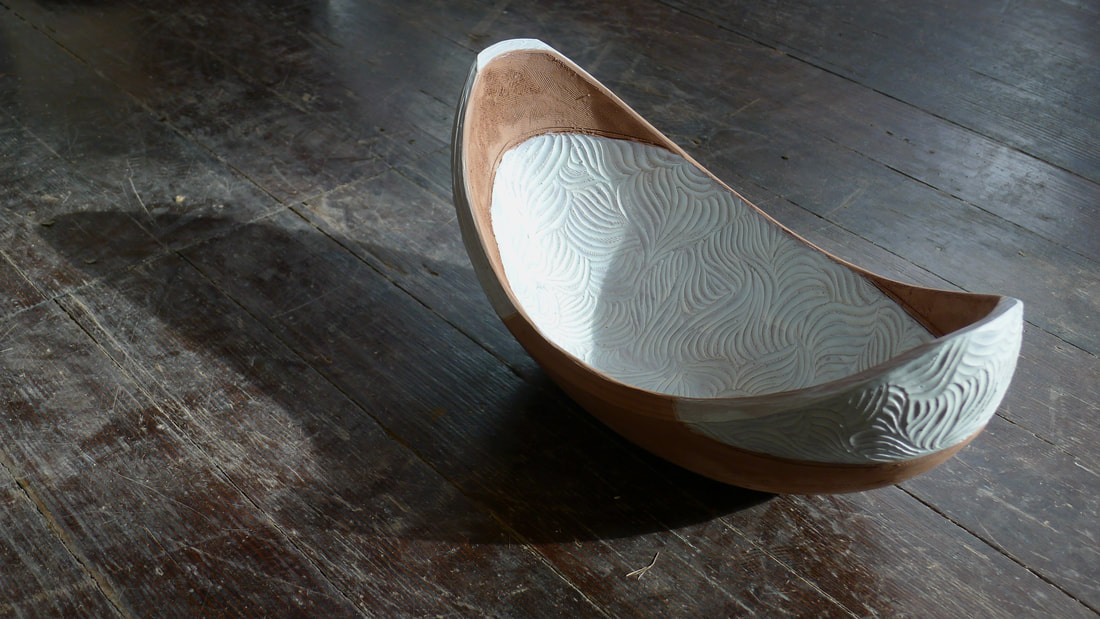
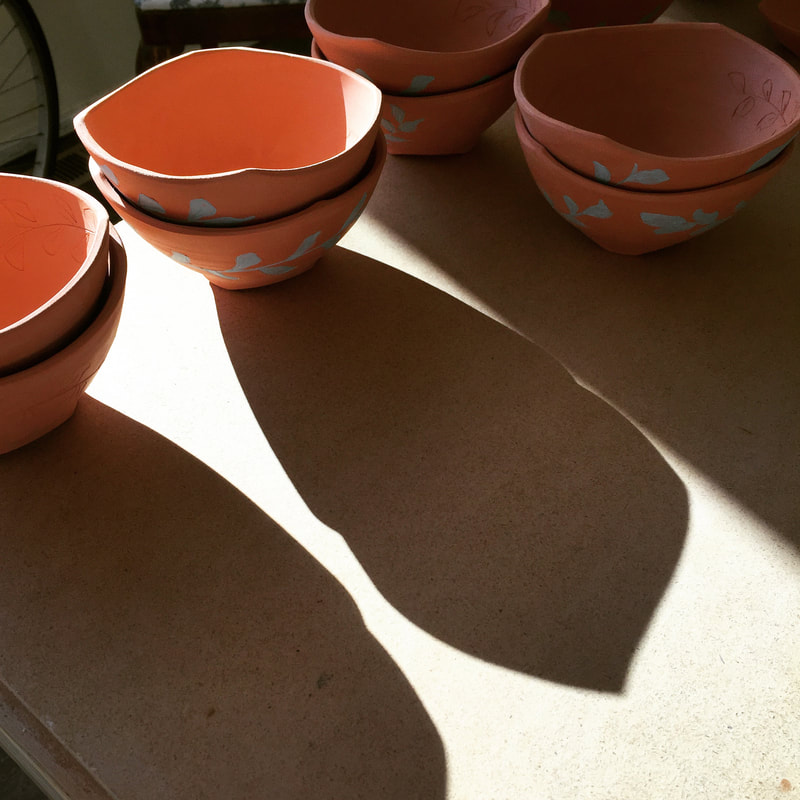
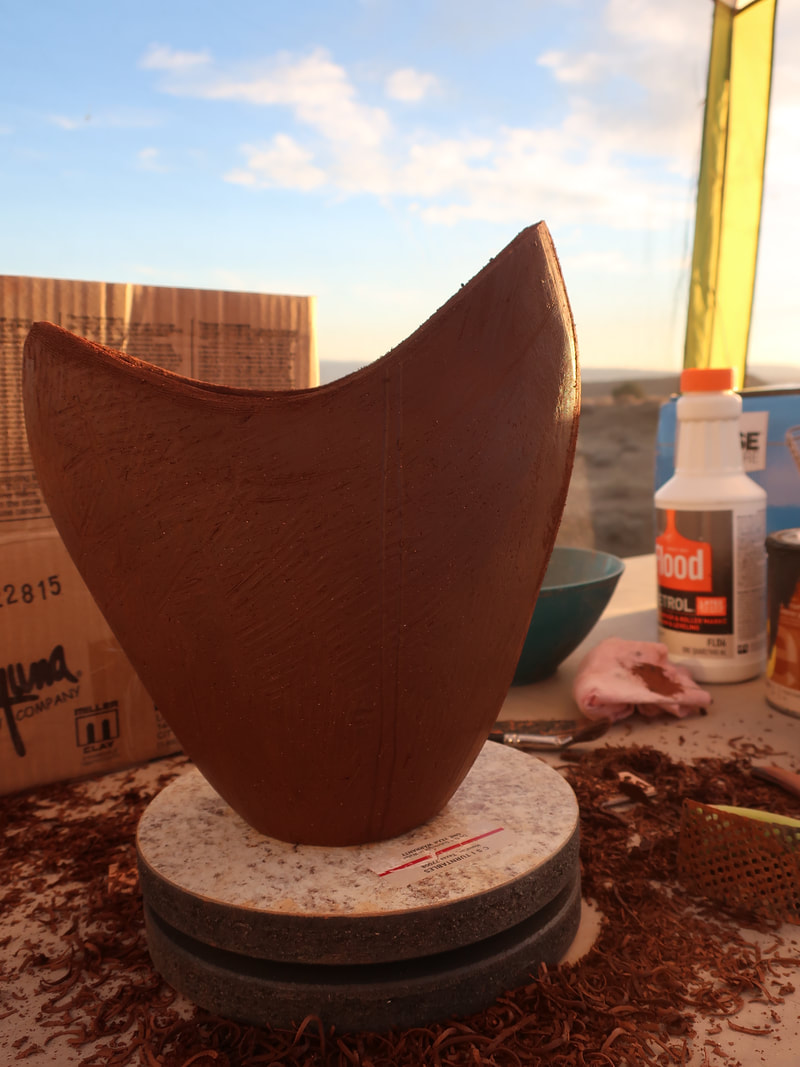
Clay goes through a few stages before it is fired. It is at a stage called "leather hard" that I think everyone agrees this material is at its most beautiful. At this point, the clay is partially dry and develops this certain shine that picks up light in just the right way. I like to leave the surfaces of my work raw or partially coated with a material called Terra Sigillata in order for my finished work to mimic clay at this stage. Below are some images of works in progress so that you can enjoy this material at its finest.
Clay goes through a few stages before it is fired. It is at a stage called "leather hard" that I think everyone agrees this material is at its most beautiful. At this point, the clay is partially dry and develops this certain shine that picks up light in just the right way. I like to leave the surfaces of my work raw or partially coated with a material called Terra Sigillata in order for my finished work to mimic clay at this stage. Below are some images of works in progress so that you can enjoy this material at its finest.
